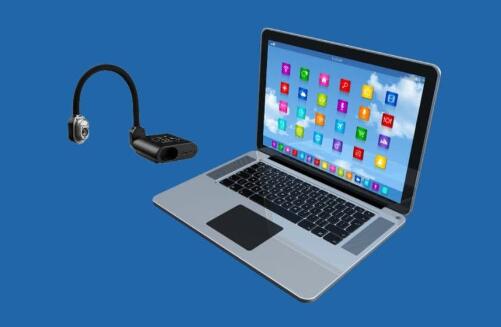
The AVer F17 document camera is a powerful visual presentation tool commonly used in classrooms and professional settings. This device enables users to display documents, images, and 3D objects onto a screen via a projector or monitor. Connecting the AVer F17 to a laptop enhances its functionality, allowing for recording, annotation, and sharing of displayed materials.
Requirements
Before you start, ensure you have the following items:
AVer F17 document camera
Laptop with a USB or HDMI port
AVerVision software (available from the AVer website)
Necessary cables (USB, VGA, or HDMI, depending on your setup)
Power adapter for the document camera
Step 1: Install AVerVision Software
Visit the official AVer website.
Navigate to the Support section and locate the AVer F17 model.
Download the latest version of the AVerVision software.
Run the installation file and follow the on-screen instructions to complete the installation.
Restart your laptop after installation to ensure all drivers are properly loaded.
Step 2: Connect the AVer F17 to Your Laptop
Option 1: Using a USB Connection
Power on the AVer F17 document camera.
Use a USB cable to connect the document camera to an available USB port on your laptop.
Wait for your laptop to recognize the device. If prompted, allow the necessary drivers to install.
Open the AVerVision software on your laptop to access and control the document camera’s display.
Option 2: Using an HDMI Connection
Connect one end of an HDMI cable to the HDMI output port of the AVer F17.
Connect the other end to your laptop’s HDMI input port (if available) or use an HDMI to USB adapter if necessary.
Switch the input source on your laptop to the corresponding HDMI port.
Launch the AVerVision software to begin using the document camera.
Option 3: Using a VGA Connection
Connect a VGA cable from the VGA OUT port of the AVer F17 to your laptop’s VGA IN port.
If your laptop lacks a VGA port, use a VGA-to-USB or VGA-to-HDMI adapter.
Set your laptop to extend or duplicate the display by pressing Windows + P (Windows) or adjusting the Display settings (Mac).
Open the AVerVision software to begin using the camera.
Step 3: Configure AVerVision Software
Open the AVerVision software from your laptop’s applications menu.
Click on “Camera” to ensure that your AVer F17 is recognized.
Adjust the resolution, focus, and zoom settings as needed.
Use annotation tools to highlight important areas on displayed documents.
If required, record the presentation using the built-in recording feature.
Step 4: Troubleshooting Common Issues
Issue: Laptop Does Not Detect the Document Camera
Ensure the USB/HDMI/VGA cable is securely connected.
Restart both the document camera and the laptop.
Try a different USB or HDMI port.
Update your laptop’s drivers from the device manager.
Issue: Poor Image Quality
Adjust the focus and zoom settings within AVerVision.
Clean the document camera lens with a microfiber cloth.
Increase the resolution settings in the software.
Issue: No Display on Laptop Screen
Press Windows + P and select “Duplicate” or “Extend.”
Check if the HDMI/VGA input is selected as the primary source.
Restart the AVerVision software.